

Contour Farming: Curvas a Nivel
- margaretmaearney
- Sep 3, 2024
- 4 min read
Updated: Jan 31

I've always wanted to learn how to use the A-frame to make contour lines! Now I'm excited to say I know how. In farming, contour lines follow the natural curve of the slope of a mountain or hillside. Below you can see two examples. In the top picture the contour lines are steeper and in the bottom photo the contour lines are on a less steep incline.
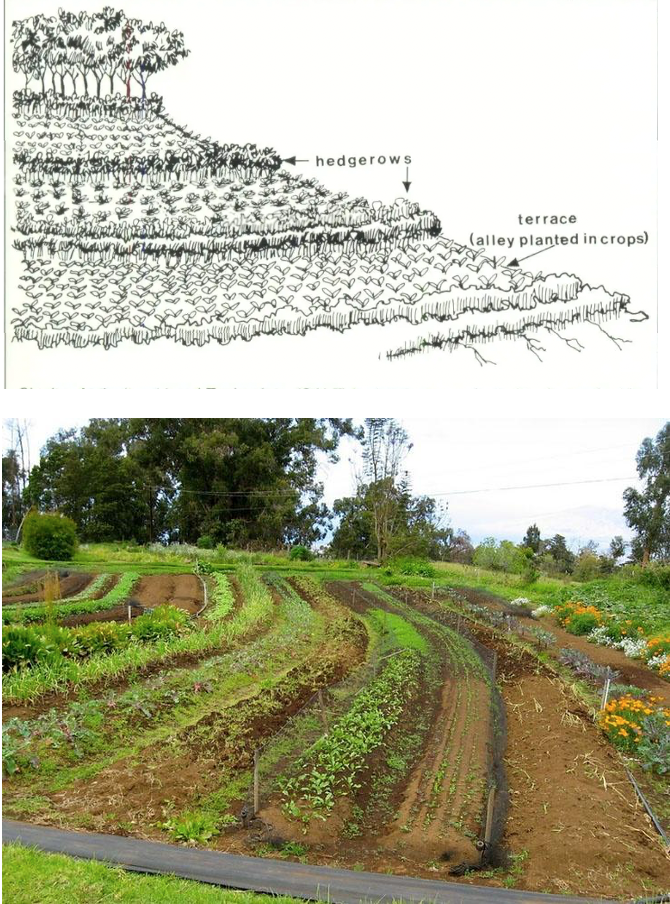
Contour lines are used to prevent soil erosion. They slow down the flow of water and have infiltration ditches between them to absorb water. Rather than rainwater running down the slope and taking the soil with it, the rainwater can soak into the soil which retains soil moisture. This helps farmers maintain healthy soil and improve their yields.
Steps!
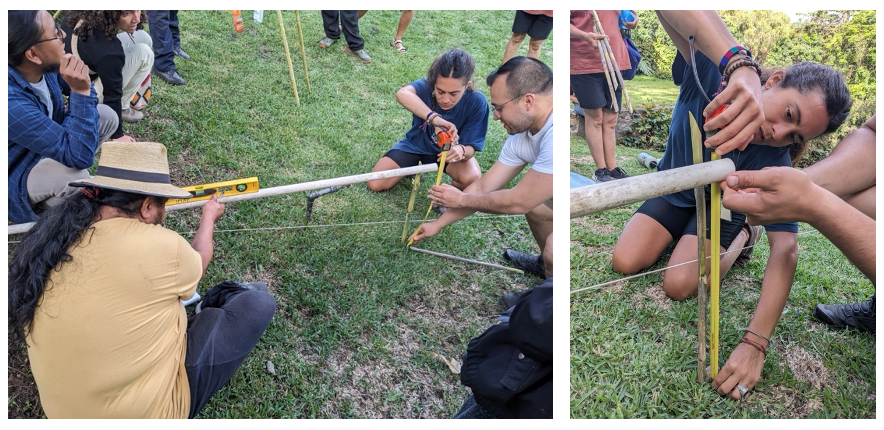
1. Make an A-Frame

In these photos we see the measurements of the dimensions. Then our team measured the bamboo sticks to match the correct dimensions and tied the bamboo together with tape. In the picture on the right we can see the finished A-frame. The bottle hanging from the string in the center is what indicates where the points on the curve will be by telling us where the land is flat. Each time we find the flat point where the bottle is centered, we put a stake into the ground. The stakes are the points that will be connected to trace the contour lines!
2. Measure the % of inclination of the land
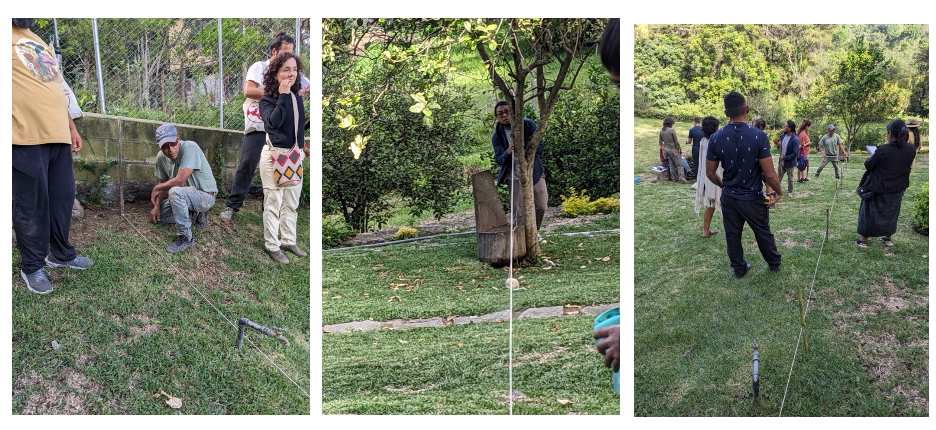
We need to first make a line from the highest to the lowest point of the property to find the length of the property. To the left, Gregorio is marking the highest point of the property with one end of the rope. In the center, Patrik is marking the lowest point of the property with the other end of the rope. This gave us a straight lines from the highest to lowest point. To the right, we can see the length of the property from highest to lowest point. We measured this length which was 18.7 meters. Then, along the length of the rope we placed stakes in the ground with a distance of 2 meters between each stake.
Next, between each stake (each 2 meters apart), we used a stick and a leveling instrument to measure the height from the ground between each stake. Then we added all of these measurements together to give us the approximate total height of the property. The height came out to be 4.15 meters.
Then we divide the length by the height and multiply by 100 to find the % of inclination of the land. As you can see in the calculations below, our inclination came out to be 22.1%.

If the land is steeper than 50% then its not very apt for planting annual plants and its better to reforest with trees!
The slope of our land helps us know how quickly water will run down. Therefore, the steeper the slope, the more infiltration ditches we will want to include between the contour lines to catch and hold water.
Gregorio and Patrik provided us with a guide to know how many infiltration ditches to include depending on the slope!
The distance between infiltration ditches (zanjas de infiltración) depending on the inclination of the land
2% : every 30 meters
5% : every 28 meters
8% : every 24 meters
10% : every 20 meters
15% : every 18 meters
20% : every 14 meters
25% : every 12 meters
30% : every 10 meters
35% : every 8 meters
40% : every 6 meters
45% : every 4 meters
You can see that with a very steep slop like 45% that the infiltration ditches will be much close and frequent-- every 4 meters! This is because with a steeper incline, the water will rush down faster and need more ditches to trap and absorb it.
3. Use the A-Frame to begin to Trace the Contour Lines
Remember that the line from the highest to the lowest point of the land has stakes in it that are each 2 metes apart. Beginning from these stakes, we will start to move outward, tracing the contour lines. In the picture above, you can see that that I am trying to find the point where the bottle stabilizes in the center. This indicates where the land is even. When I find that point, I will mark it with a bamboo stake. Then from that point I will find the next one until you reach the edge of the property. Tracing the contour lines is like a giant "connect the dots." Gregorio explained that before the A-frame, they used to let a donkey loose and follow the line where he walked and grazed because the animal will follow the most even, stable line!
There you have it! This practice helps manage water, prevent erosion, maintain healthy soil, and supports farmers in securing a good yield of crop. And that's the goal we have in permaculture, agroecology, and sustainable rural development. So this practice and knowledge is a great tool to have to support farmers.


Comments